I chose this recipe after reading about 'Demon Valley' brewery's first all grain brew day and, seeing as the ingredients are fairly straight forward, decided it would also be my first brew.
Ingredients;
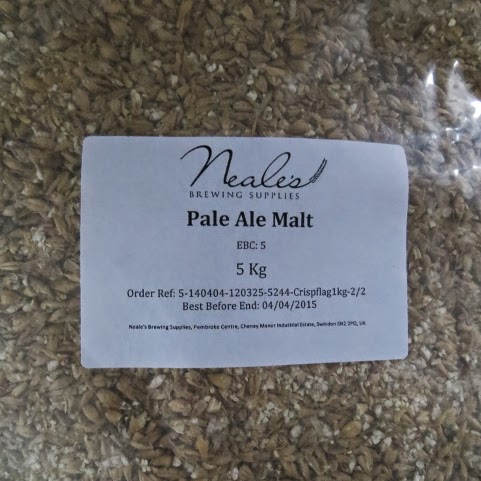
•5kg Pale Ale Malt
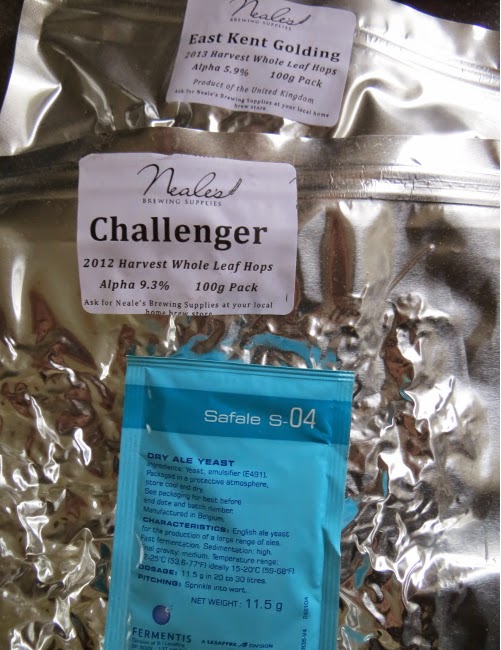
•46g Challenger Hops @ 90 minutes
•15g Goldings Hops @ 15 minutes
•9g Goldings Hops @ Flameout/Poweroff
•Safale S-o4 yeast
I set my alarm for 0700 this morning but was awoken by a bad dream, in which my boiler wouldn't boil and kept cutting out (see how this brewing lark affects you?).
I got out of bed and measured out 16 litres of water.
0700 - The water goes into the boiler to be heated to 71.6 degrees for mashing.
The most important step in brewing and wine making is, of course, sterilising everything to avoid infection. But is it? Surely this is the most important first step?
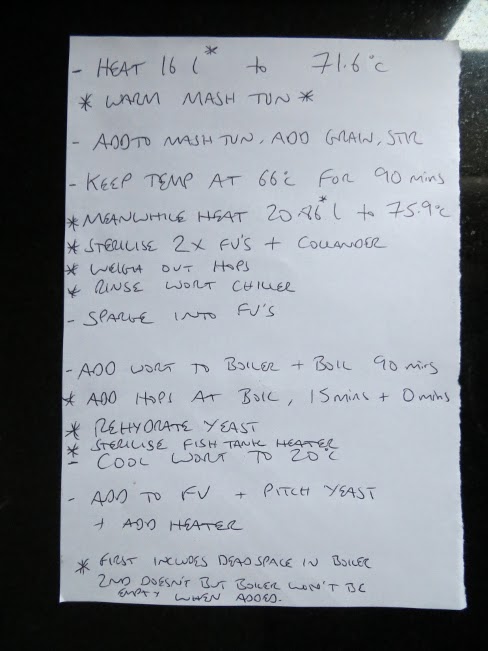
My instructions/steps for the day, in case I forget anything;
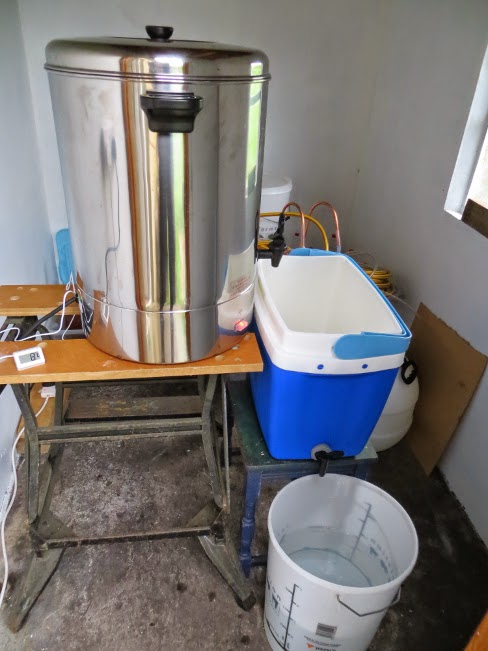
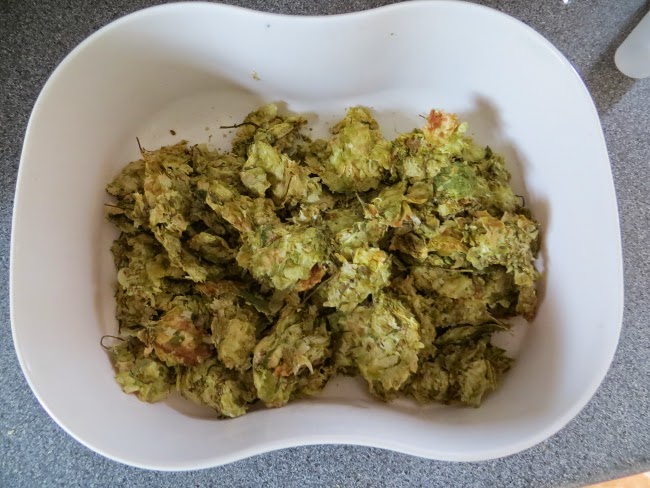
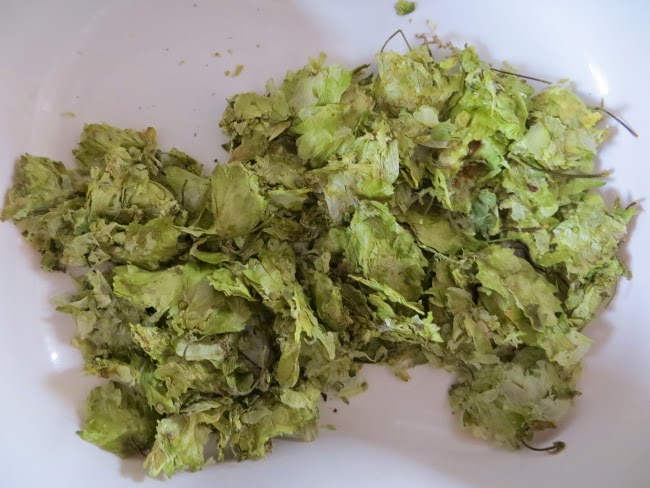
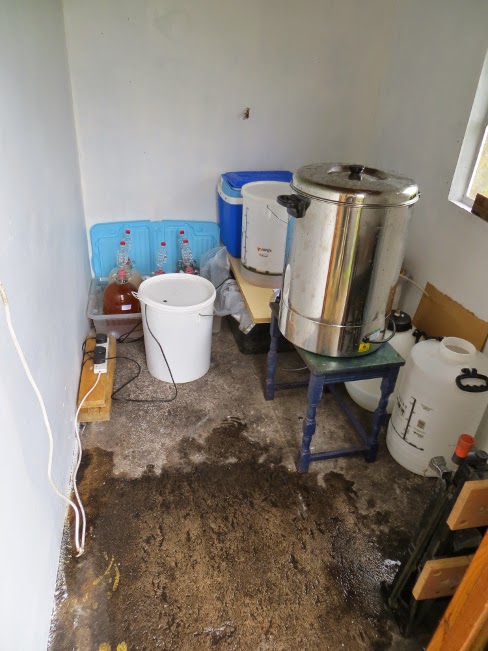
Everything ready and prepared
And ingredients
07:25 - The water (liquor in brewing terms) reaches 71.6 degrees and is now added to the mash tun
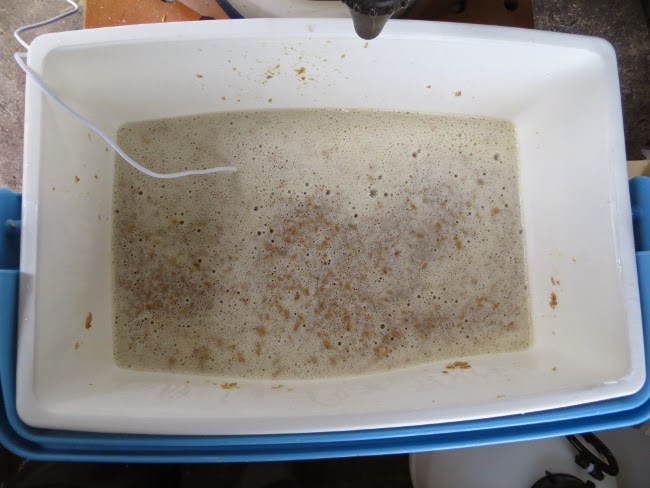
The mash temperature I am aiming for is 66 degrees so, once the grist (malt) is added, this cools the temperature down to where I want it
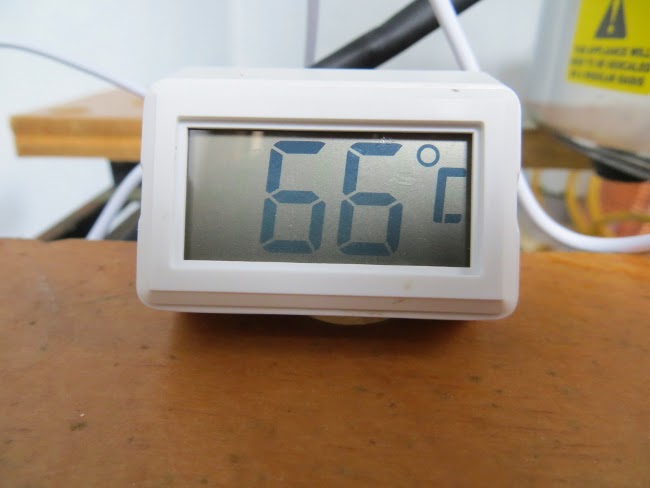
I now mash at this temperature for 90 minutes which, I'm pleased to say, my new mash tun has managed without dropping a degree.
Meanwhile, I heat up 20.86 litres of liquor to 75.9 degrees for sparging.
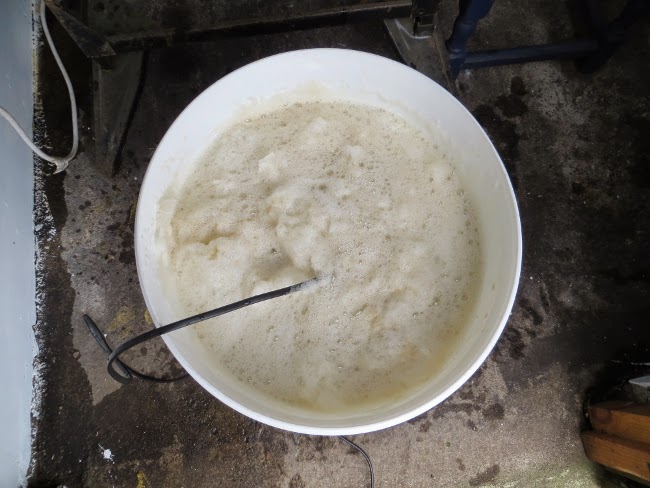
0900 - Time to sparge (rinse the sugars from the grist)
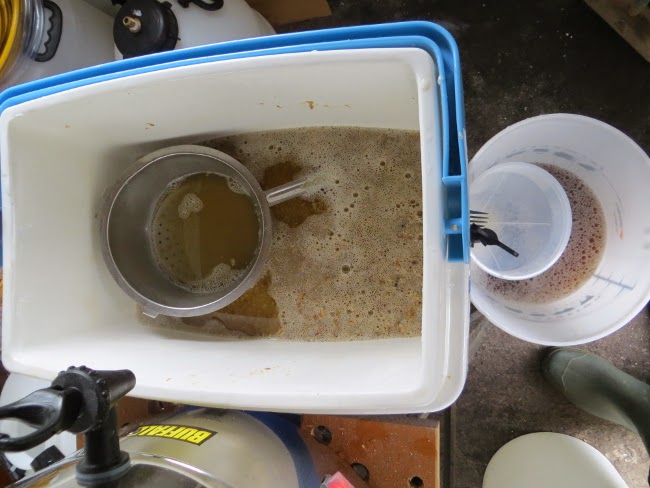
The first runnings. This is returned to the mash tun until it comes through clear.......
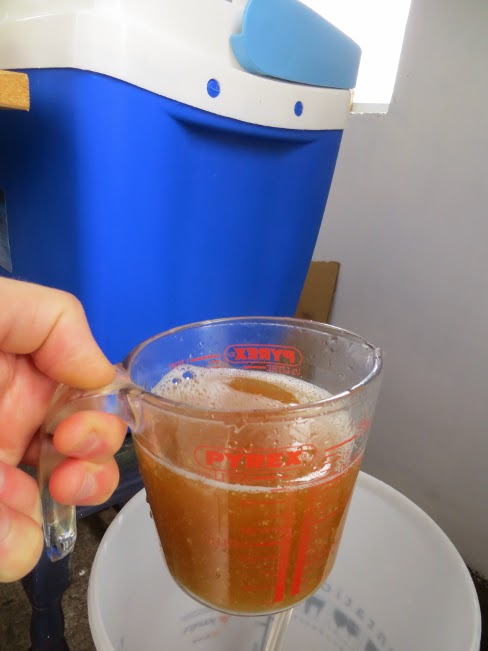
.......Like this
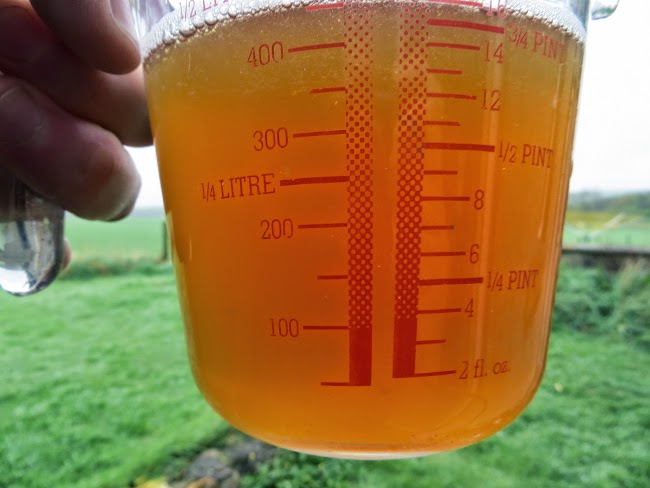
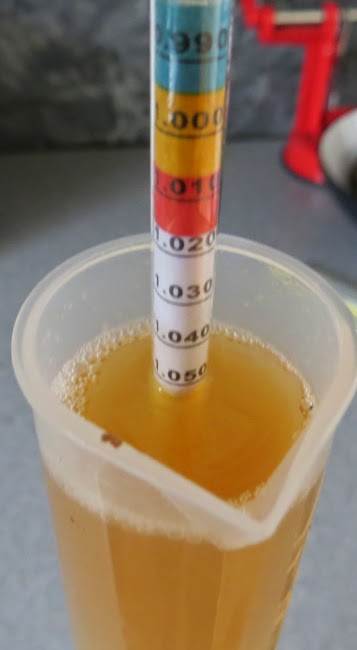
Pre-boil gravity is 1.032
10:00 - The wort is now transferred into the boiler to give it a rolling boil for 90 minutes. This drives off any unpleasant enzymes and sterilises the wort. Hops are added at various times for bittering and aroma.
10:50 - The wort is finally boiling so 46g of Challenger hops are added for bittering.
12:05 - More hops are added, 15g of East Kent Goldings for aroma. Also, the wort cooler is now added to the boiler to sterilise it for the last 15 minutes of the boil

12:40 - Just 20 minutes to cool down 26 litres down to pitching temperature. I'm happy with that!
The wort is now transferred to a fermenting vessel and, after being thoroughly aerated (to encourage yeast growth), the yeast is pitched
13:30 - Everything cleaned and tidied away!
Problems: The only problems I noted were the fact that my OG should have been approx. 1.043 whereas the actual OG is 1.052. I'm not sure if this is down to a dodgy hydrometer! The other problem was that hops got stuck in the tap, blocking it, when transferring from the boiler to the FV. I had thought this might happen so prepared by sterilising a sieve and jug to transfer manually


